
Working with Microsoft Identity - Assigning a Role
Securing our applications and data is critical in this day and age. I’ve been working a lot with the new Microsoft identity platform (MSAL) library, so I decided to create a series of blog posts around working with it.
- Register an application.
- Configure Local Development
- Assigning a Role (this post)
Role-Based Access Control
Before we assign a role, we should take a look out what Azure RBAC is. Azure RBAC, or Azure Role-Based Access Control, is an authorization system built on Azure Resource Manager that provides fine-grained access management of Azure resources. It allows you to create roles or use predefined roles for your applications.
Azure RBAC includes several built-in roles that you can use. The following lists four built-in roles. The first three apply to all resource types.
- Owner - Has full access to all resources including the right to delegate access to others.
- Contributor - Can create and manage all types of Azure resources but can’t grant access to others.
- Reader - Can view existing Azure resources.
- User Access Administrator - Lets you manage user access to Azure resources.
If you don’t find a role that fits your needs, you can create custom roles. From what I have found, the default roles are adequate for my use.
Assigning a Role
Assigning a role to an application assigns a set of permissions to the Azure resource for the given application. In the sample below, we are going to assign the Storage Blob Data Contributor role to our application.
In the Azure Portal, navigate to the resource that you want to provide access to and click on ‘Access control (IAM’) on the left menu.
There are two ways to add the role.
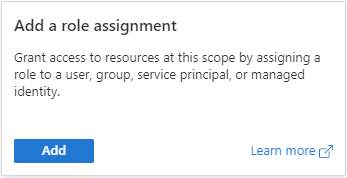
- Option 1, is click the ‘+ Add’, then ‘Add role assignment’.
- Option 2, is to click the ‘Add’ button.
Enter the following:
| Name | Value | Description |
| Role | Storage Blob Data Contributor |
Add what makes sense for your application. Not sure what setting to use, hover over the ‘i’ or check out the permissions mentioned earlier in this post. |
| Assign access to | Azure AD user, group, or service principal |
|
| Select | The name of the application | The default will be your user id. Type in the first couple of characters of the application |
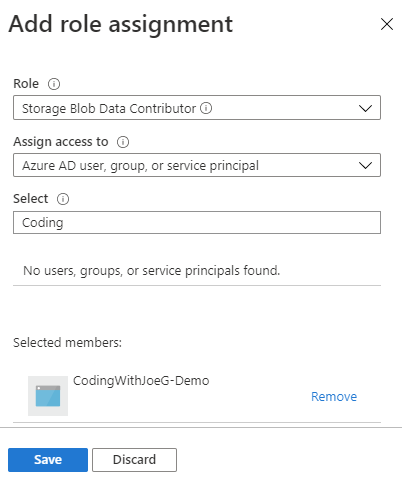
- Click ‘Save’
Verifying Role Access
Check Application Access
If you want to check what applications/users have access to a given resource
- Navigate to the resource
- Click ‘Access control (IAM)’
- Click ‘Check Access’
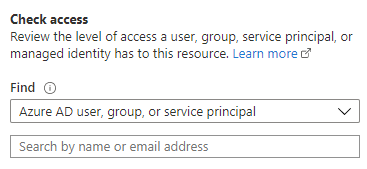
Underneath ‘Find’, choose the type of managed identity you are want to check.
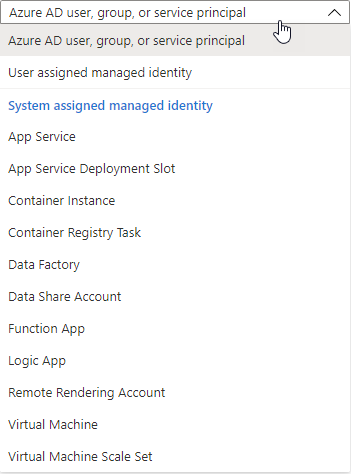
The default of Azure AD user, group, or service principal should be enough. If you have a lot of resources, you can narrow the search results down by choosing another identity type.
- Type the first couple of characters of the application and/or resource.
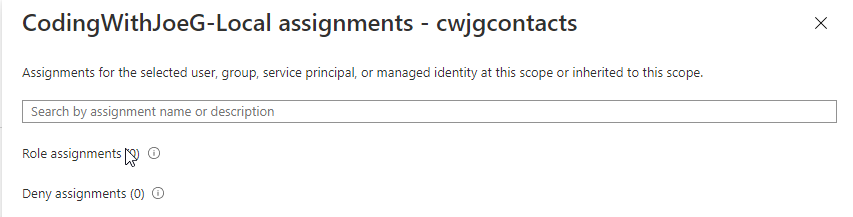
Once you see the resource you are wanting to check roles on, click it and you will see any permissions assigned. In this example, there were no permissions assigned.
View All Roles Assigned
You can view all of the roles assigned to a given resource in Azure.
- Navigate to the resource
- Click ‘Access control (IAM)’
- Click ‘Role assignments’
This will list all of the registered applications and/or users that have access to this application.
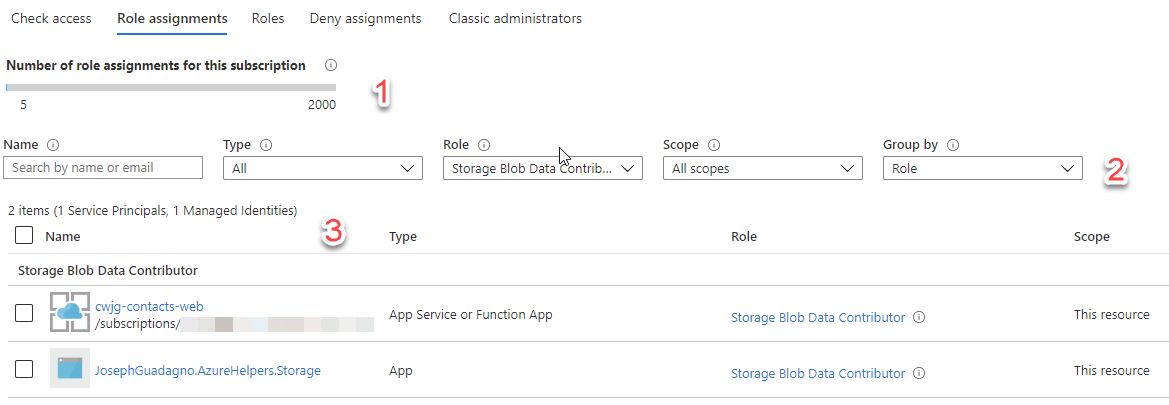
The number 1 on the image tells us how many roles we have assigned in our subscription, not for this resource.
The number 2 on the image, provides you the ability to narrow down the results. In this case, I have it filtered to those applications/users that have the Storage Blob Data Contributor role.
The number 3 on this image, lists all of the applications/users that match the filters above.
Resources
Share on
Bluesky Facebook LinkedIn Reddit XLike what you read?
Please consider sponsoring this blog.

