
Setup an Azure Application with Permissions to Enable Certificate Signing
In a previous post, I walked through how to upload a code signing certificate to Azure Key Vault. This post will walk you through setting up the Azure “application” so that our Azure Pipeline (future post) will be able to sign our NuGet package without having to download the package. Thanks to Claire for the advice.
Create the Application
- Sign into the portal
- Search for
App Registrations - Click ‘+ New Registration’
- For the name, enter something easy to remember. I entered
SupportLibraries_Pipeline - For ‘Supported account types’, there are three options
Accounts in this organizational directory only (Default Directory only - Single tenant)
All user and guest accounts in your directory can use your application or API. Use this option if your target audience is internal to your organization.
Accounts in any organizational directory (Any Azure AD directory - Multitenant)
All users with a work or school account from Microsoft can use your application or API. This includes schools and businesses that use Office 365. Use this option if your target audience is business or educational customers and to enable multitenancy.
Personal Microsoft accounts only
Personal accounts that are used to sign in to services like Xbox and Skype. Use this option to target the widest set of Microsoft identities. Due to temporary differences in functionality, you may see errors if you attempt to switch between supported audiences after registering the application.
- For pipeline signatures we’ll want to select
Accounts in this organizational directory only (Default Directory only - Single tenant) - For ‘Platform configuration, let’s chose
Background process and Automation (Daemon) Application - Click ‘Register’
Once the creation is complete, you will have to select how this application is going to identify themselves to the authenticate service. Since the tool we are going to use NuGetKeyVaultSignTool expects a ClientId and Secret, let’s create one.
- Select ‘+ New client secret’.

- Enter a description and chose the expiration date. I chose to never expire the client id since this will only be used for the pipeline.
- Click ‘Add’
- Copy the secret value. You will need the later. As mentioned in the image below and one top of the blade, the client secret wont be available to be retrieved again once you leave this blade.

Assign the Contributor role to the Application
Now that we have an application setup in our directory, we need to assign it to a role so it can have access to the certificates.
- Click ‘Home’
- Click ‘Subscriptions’
- Select your subscription
- Click on ‘Access Control (IAM)
- Click on ‘Add’ in the ‘Add a role assignment’ box
- Select the role
Contributor - For ‘Assign access to’ select
Azure AD user, group, or service principal - Select, enter the name you called the application.
- The selected choice should appear below
- Click ‘Save’
Give the Application Access to the Azure Key Vault
Now that we established the application and assigned it to the contributor role, we need to give that application and role access to the vault.
- In the portal, navigate to the vault
- Click on ‘Access Policies’
- Click on ‘+ Add Access Policy’
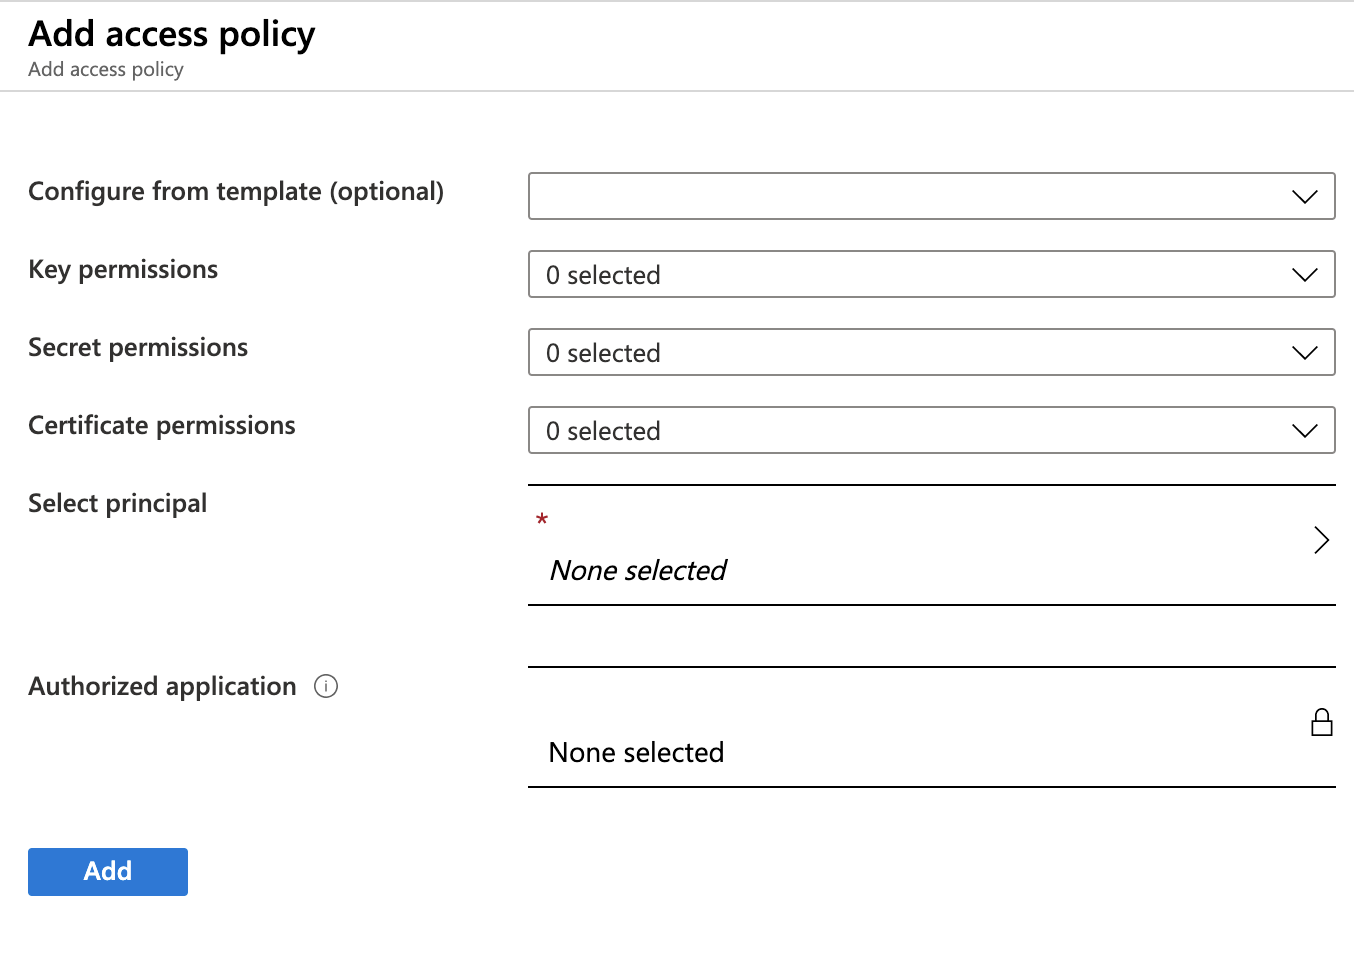
Required Permissions
| Permission Type | Required Permissions |
|---|---|
| Key Permissions | Sign |
| Certificate Permissions | Get |
- For the ‘Select Principal’, select the application you created earlier.
- Click ‘Add’
- Then click ‘Save’
You’ll now see the application listed in the Access Policies.
That’s should be it. We’ll tie this application to our pipeline in a later post.
Share on
Bluesky Facebook LinkedIn Reddit XLike what you read?
Please consider sponsoring this blog.

