
7 Windows 11 Tips
It’s July 11th, or 7/11/21 (in the U.S.), so I am bringing you 7 Windows 11 tips. See what I did there. ![]() I know, it’s corny, and really only applicable in the U.S. since our calendar is different from the rest of world. But you don’t need to store or display your date as 7/11 to use any one of these tips.
I know, it’s corny, and really only applicable in the U.S. since our calendar is different from the rest of world. But you don’t need to store or display your date as 7/11 to use any one of these tips.
NOTE: These tips are based on an early access preview. The images and functionality could change between releases including the final release. This was based on Windows 11 Pro, Update 21H2, Build 22000.65
Tip 1: Move the Taskbar
By default, the Windows Taskbar, is center aligned. However, you can change that in the settings. To open the settings, press Windows Key + S to bring up the Windows Search, and in the text box type settings. The Settings application should look like this.
Once the Settings application is open, click on Personalization. Then expand Taskbar behaviors. NOTE, you may have to scroll for this.
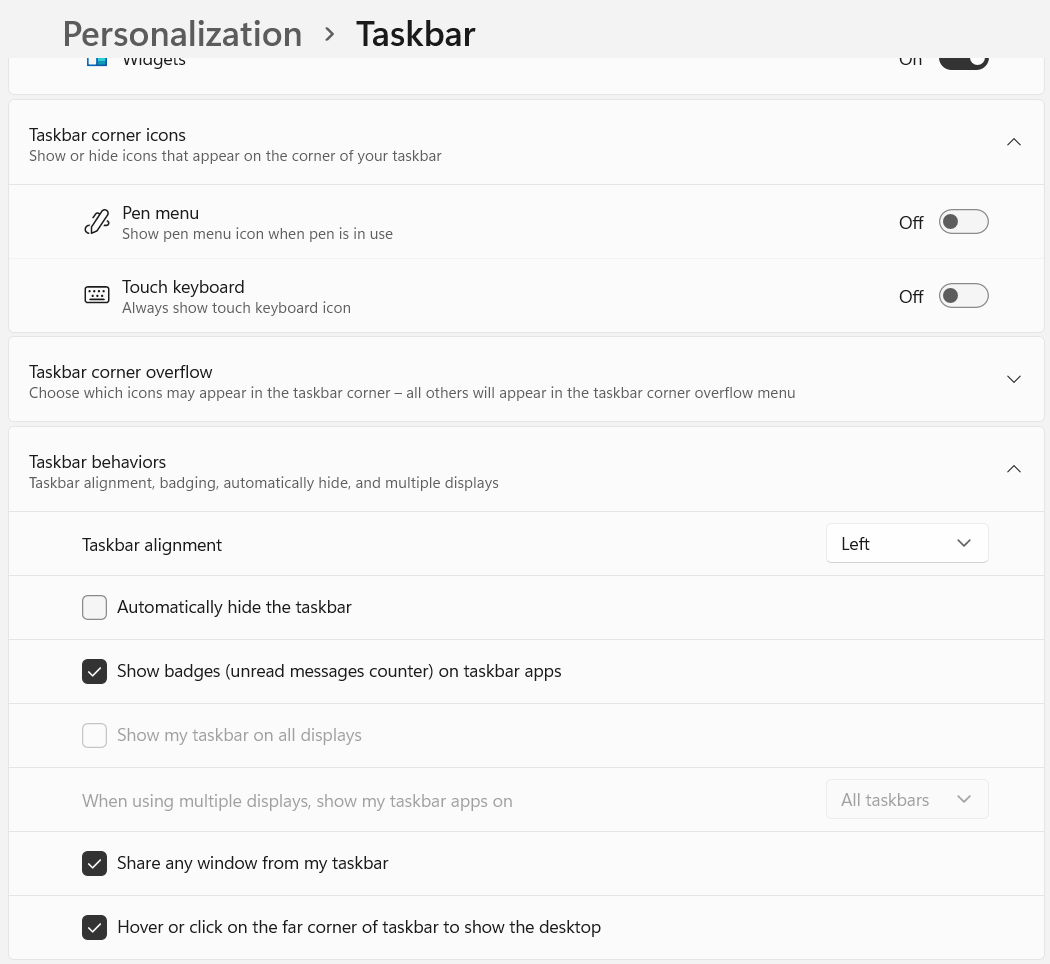
Now, you can set the taskbar alignment to the left by changing the Taskbar Alignment setting. No need to click a Save button, the saving is automatic.
Tip 2: Start Menu
The Start Menu had a few user interface changes.
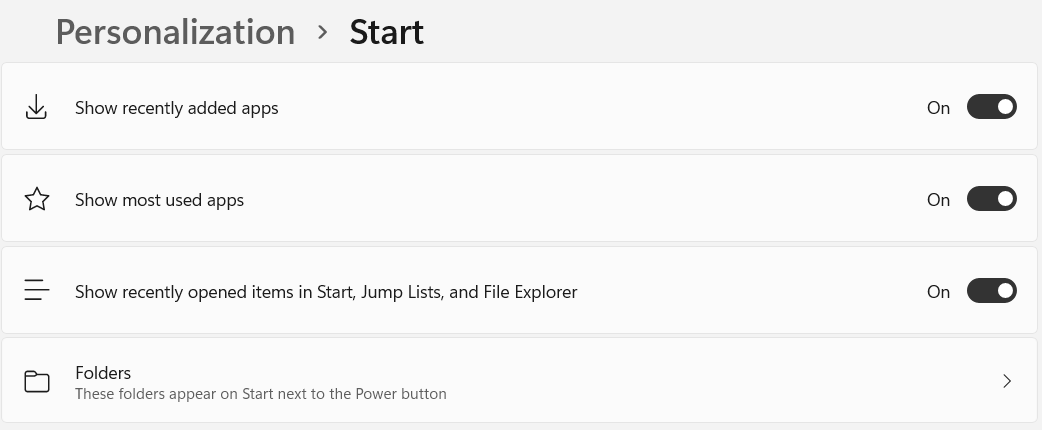
You can make some changes to it. Sorry, you can’t bring back Live Tiles. ![]() However, you turn on and off the recent apps, most used apps, and recent apps settings. Open up the Settings application, chose Personalization, then Start.
However, you turn on and off the recent apps, most used apps, and recent apps settings. Open up the Settings application, chose Personalization, then Start.
If you click Folders, you can customize the Start Menu by adding the Windows special folders next to the power button. You can add the following “Special Folders” to the Start Menu.
- Settings
- File Explorer
- Documents
- Downloads
- Music
- Pictures
- Videos
- Network
- and, Personal folder
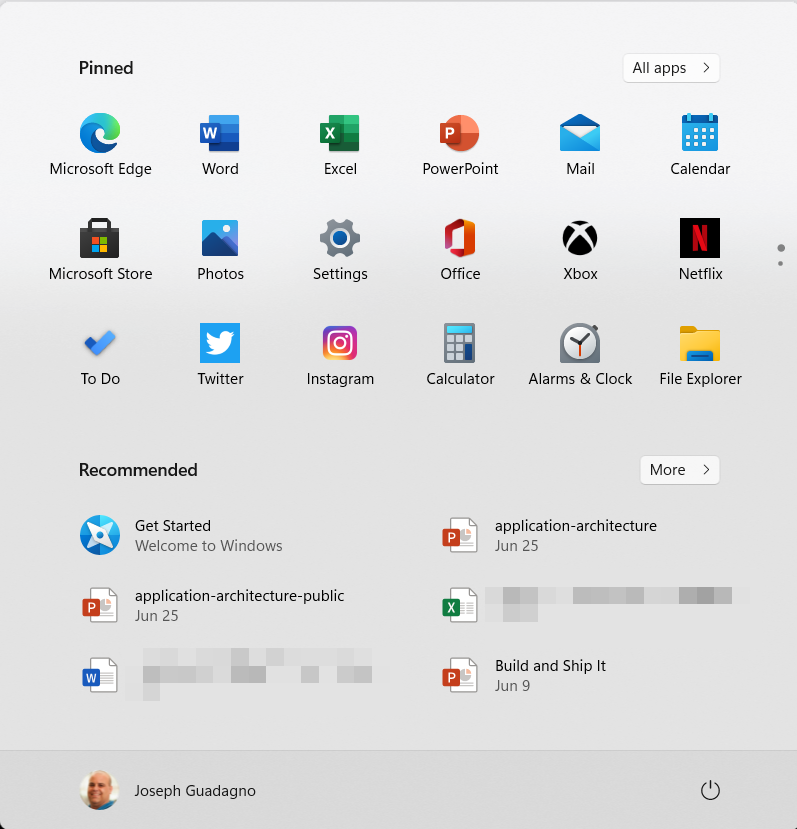
I added, Settings, File Explorer, Downloads, and Personal folder. Now the bottom of my Start Menu looks like this.

Tip 3: Time Estimates for Windows Updates
It’s late and you are about to call it a night, you look in your tray to see what time it is and notice the update icon in your task tray that indicates Windows has an update to apply.
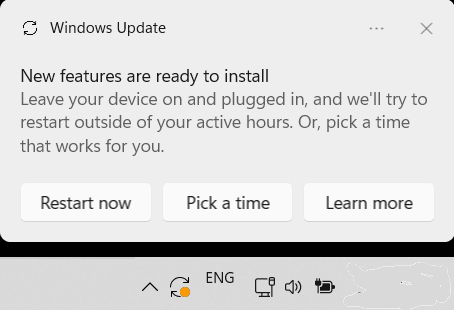
You start to think to yourself, I wonder how long is this going to take?. Luckily you now no longer have to guess, Windows 11 guesses for you. Click the power icon and you are prompted with estimates as to how long Windows should take to apply the updates and restart or shutdown.
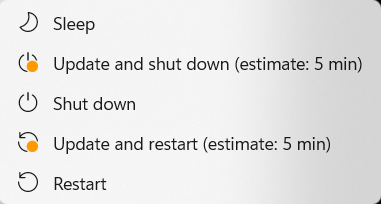
Let’s just hope it never says ‘5 seconds remaining’ ![]()
Tip 4: Search
The Search user interface has been revamped also. You can click the Windows Key + S or the magnifying glass on the Taskbar to open it.
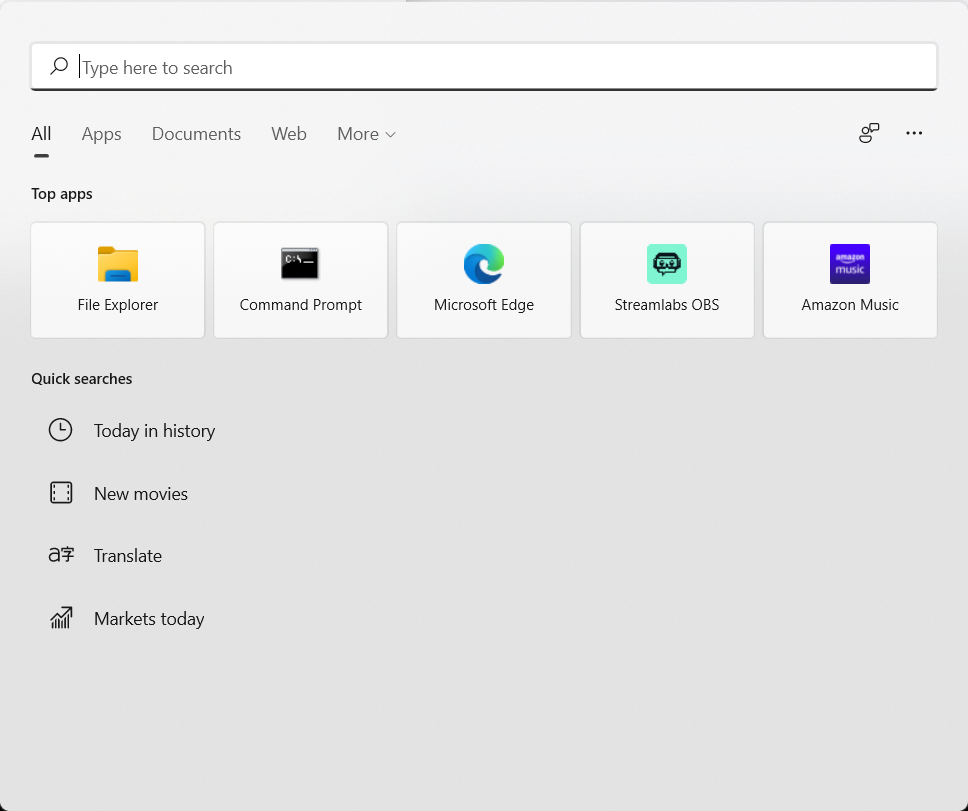
However, if you hover over the magnifying glass you will get a smaller window.
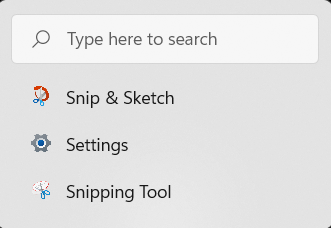
This window has a text box to enter your search terms and the most three recent applications or searches you performed.
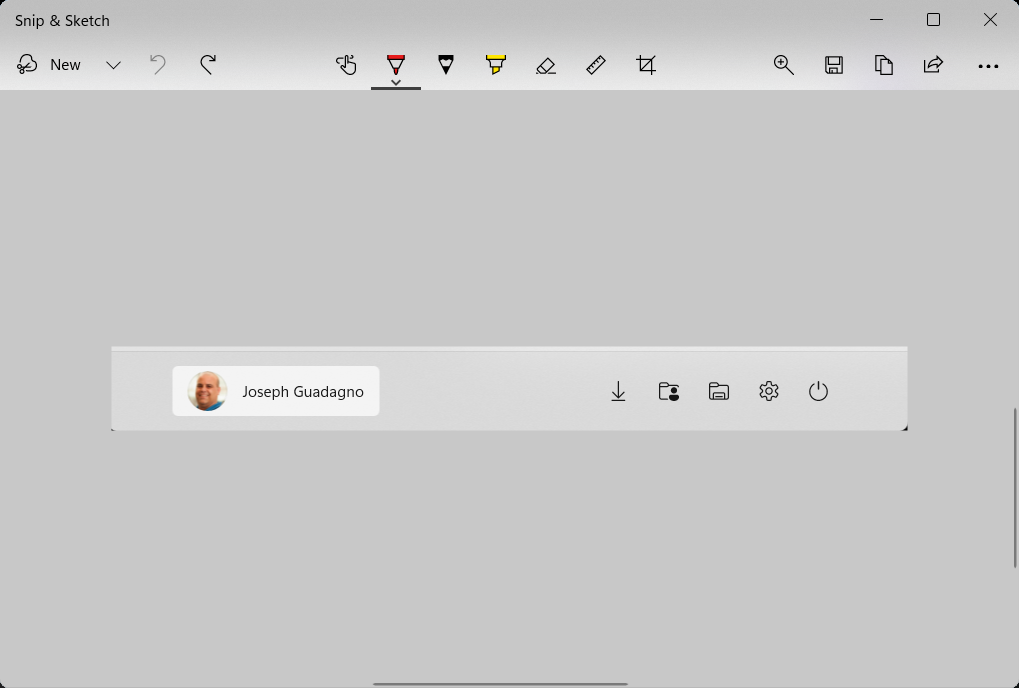
Tip 5: Snip & Sketch
Snip & Sketch allows you to quickly annotate screenshots, photos, and other images with your pen, touch, or mouse and save, paste or share with other apps. It is included in Windows 11, or you can download it for Windows 10 or the Xbox One.
The keyboard shortcut of Windows Key + Shift + S will start a snipping session with Snip & Sketch.
For more on Snip & Sketch, check out Windows 11 Forum.
Tip 6: Quick Settings
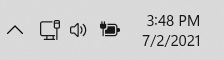
The Quick Settings has been revamped. The Quick Settings can be accessed by clicking on the icons in the task tray, typically the battery, network, and sound icons are visible in the task tray.
Upon clicking the task tray you should see something like this
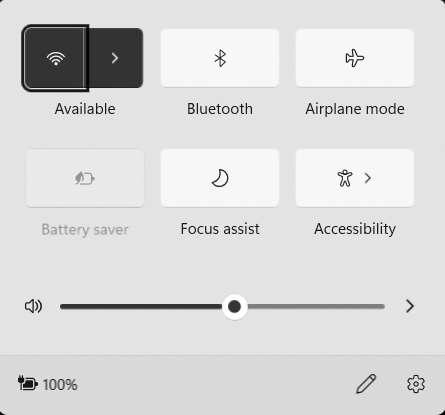
Now clicking on the gear icon will bring up the Settings application. Clicking on the ‘Pencil’ icon will allow you to add and remove buttons to the Quick Settings panel.
From here, you can click the pin icons, noted by the arrow, to remove an item. To add an item, click the + Add button. That brings up a menu similar to this.
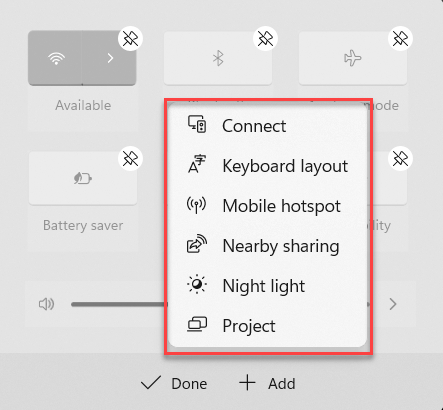
NOTE: This menu can vary depending on your hardware and configuration.
Tip 7: Clipboard History
Technically not new to Windows but it has been drastically improved. Pressing Windows Key + V brings up the Clipboard History Window.
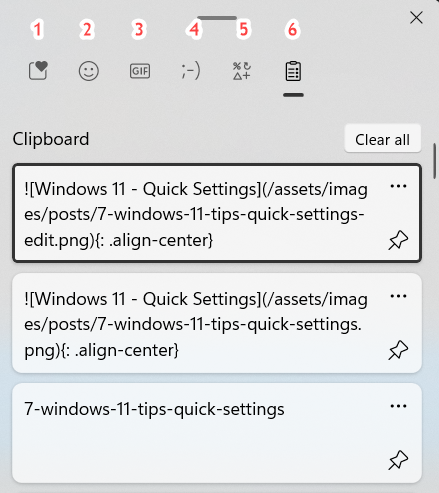
The Clipboard History window allows you to paste different types of data, emoji’s, GIFs, equations, contents of the clipboard, and not just the last item, and a lot more.
- Recent Emoji’s and GIF search (powered by Tenor)
- Emoji’s
- GIFs (powered by Tenor)
- Classic ASCII based emoticons
- Special characters, similar to that of CharMap
- The items that have been copied to the clipboard.
If there are items that you want to keep on the clipboard, press the pin icon to save them.
Wrap Up
Every day I use Windows 11, I find something new about it. For more on Windows 11, you can check out my previous post, Windows 11 - A first look.
Share on
Bluesky Facebook LinkedIn Reddit XLike what you read?
Please consider sponsoring this blog.

